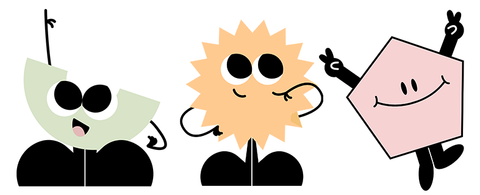

So you got your new peel and sticks! Awesome! Not sure how to apply them? No worries; we've put together this handy little tutorial to guide you through the process 😉
#1
MAKE SURE THE SURFACE IS CLEAN Grab a damp lint-free cloth and wipe clean the area you have chosen for your Stickaroo. Make sure the surface is 100% dry before you start.
Pro tip: wipe the surface the day before to ensure complete dryness before application. Also, please remember to make sure you confirm the complete curing time for newly painted walls from your paint supplier before you start.
#2
GET YOUR TOOLS
You'll need a pair of scissors, some Prestik or masking tape before you get started.
#3
SOME SCISSOR FUN
Cut out the different elements of your Stickaroo from your sheet.
#4
PLAN YOUR DESIGN Grab the Prestik or masking tape and plan your design before starting the application process. This will help you make sense of the layout and what works best for your preferred area.
#5
REMOVE THE EXTRA VINYL
To save you some time and possible confusion, remove the extra vinyl around the printed elements. Look out for the smaller bits and bobs which may not be obvious to spot.
#6
STICK 'EM UP!
This is what we've been waiting for 🤩
Turn your Stickaroo upside-down and lift the backing paper enough to give you space to start applying it. Place your design on the wall. Start by peeling off the backing paper whilst smoothing out the vinyl on the surface.
Pro tip: it's always easiest to apply your peel & stick in the direction that the design flows. If possible, start with the most solid piece and work towards the detailed smaller pieces, as shown in the video.
#7
FATTO!👌

How to peel & stick
Apr 04, 2020Tania Brussow